> ## Documentation Index
> Fetch the complete documentation index at: https://docs.tapify.app/llms.txt
> Use this file to discover all available pages before exploring further.
# Assign
> Multiple ways how to assign products to your team members.
## Overview
Every Tapify NFC Business Card Card has a unique **Product-ID**, these are instantly generated when you place an order. You can view assigned and unassigned Product-IDs in [Settings > Products](https://tapify.app/settings/products) within your workspace.
Products that are assigned successfully to a team member, scanning the card will instantly display the team member's Tapify Profile.
Newly created Product-IDs that haven’t been linked to a team member yet.
## Assigning Product-IDs
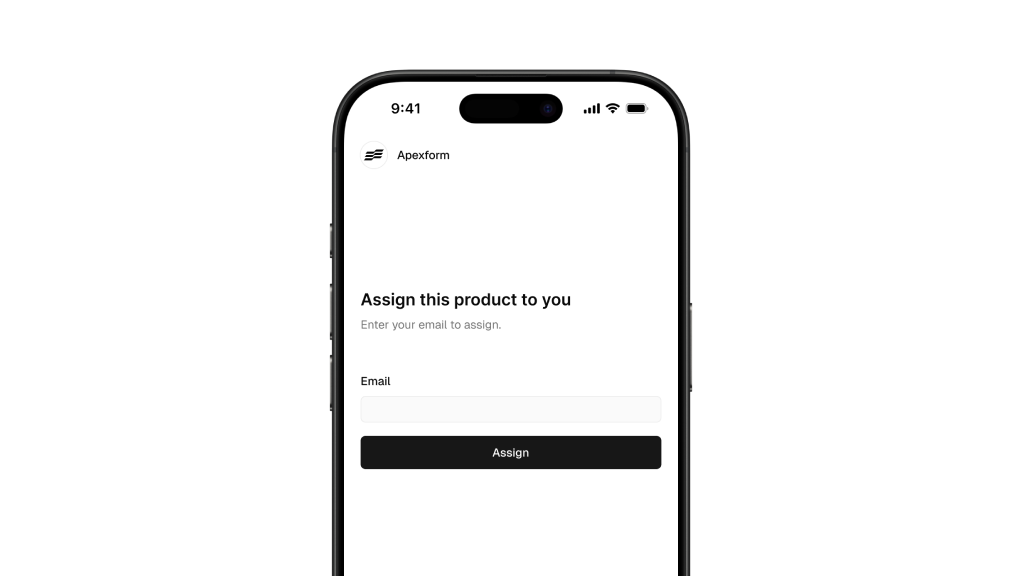
You can assign Product-IDs to team members in two ways — by **scanning the card** or via **Team manangent** settings.
### Scanning
This method is the easiest and requires minimal admin effort.
1. The team member scans the card.
2. They enter their email and click **Assign**.
3. There card is now linked to their account.
 ### Via settings
For manual assignment, follow these steps:
1. Go to your workspace’s [Team Management](https://tapify.app/).
2. Click the **three dots** next to the team member.
3. Select **Settings** from the dropdown menu.
4. Click **Add** under 'Products'
5. Select a Product-ID from the list and click **Save.**
### Via settings
For manual assignment, follow these steps:
1. Go to your workspace’s [Team Management](https://tapify.app/).
2. Click the **three dots** next to the team member.
3. Select **Settings** from the dropdown menu.
4. Click **Add** under 'Products'
5. Select a Product-ID from the list and click **Save.**
Once assigned, the card will be linked to the team member’s account and ready for use.